Have you ever left on a trip for a few days, returned, and found your beautiful hanging basket looking sad?
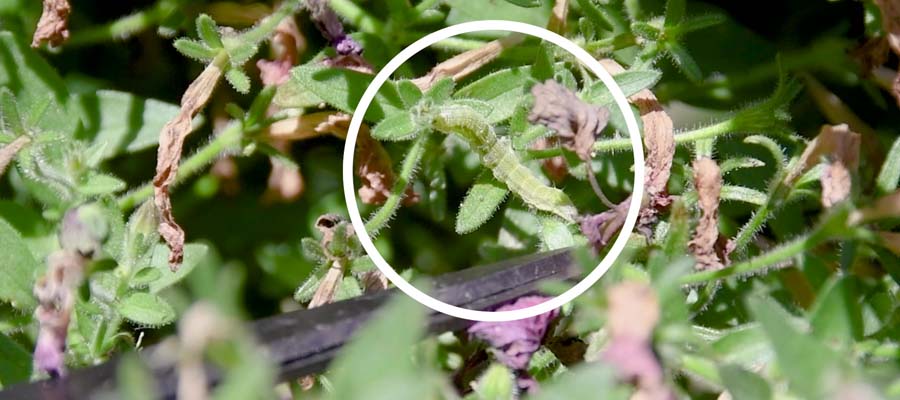
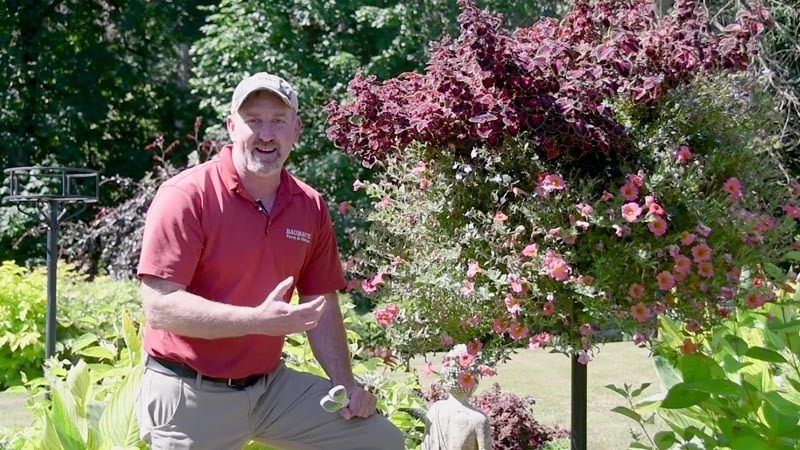
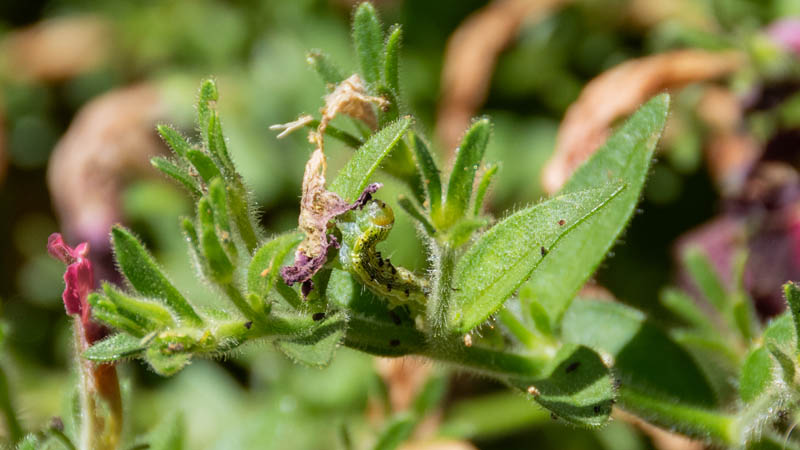
Here are some tips and tricks to bring your hanging basket back to its glory. First and foremost, you’ll notice that there may not be very many blooms. When you left, your basket was covered in blooms. There’s one particular culprit that is in there that is eating your flowers. We hate these little cutworms, and they are almost invisible. You have to really pay attention to see them, and if you look close, you’ll see these little green guys moving around in here. It’s absolutely disgusting. There is a trick to get rid of them. Before we do that, we want to give it a nice trim. It can be hard to trim your flowers back sometimes. A lot of people almost have to close their eyes because you don’t want to hurt it. But to be honest, we want to get rid of some of the damaged growth so we can get some new growth with new blossoms to be nice and full for the rest of the summer.
Watch as Brian Bauman shares tips on bug care for your hanging baskets.
Give Your Hanging Basket a Trim
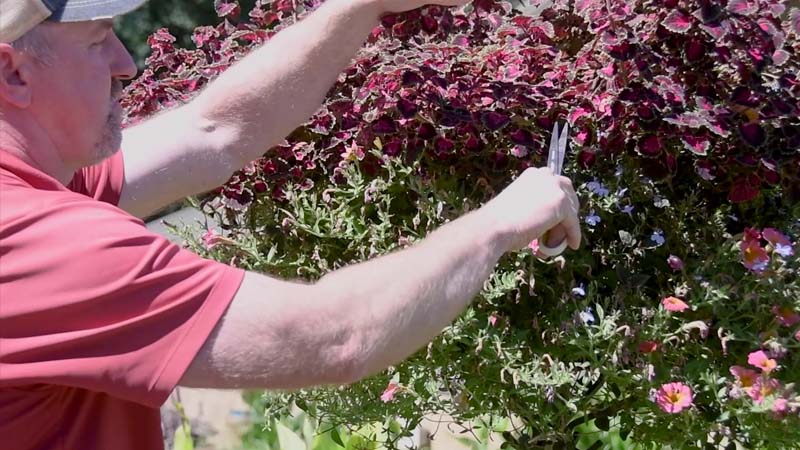
So, step one – get your handy pair of scissors and give your basket a little haircut. When trimming your hanging basket back, a lot of the underneath growth is totally fine to trim back because it’s not getting a lot of light anyway. You also don’t notice it as much. Coleus has a beautiful flower on it that’s really pretty, but only for a little while, so you can go through and trim all the blossoms off. If you do it right in between the nodes, you almost don’t even notice that you’re trimming it, and it’ll fill in fuller and look a little thicker to fill out even more throughout the summer. So don’t be afraid to pinch the blossoms off on your coleus. When you trim off a nice handful of some of that damaged growth, step one is accomplished.
Cutworms
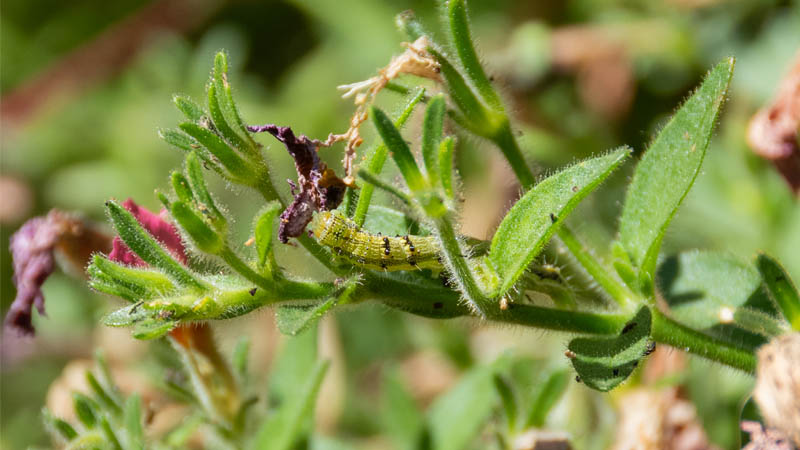
As for the cutworms, they’re super hard to see. A lot of times, they’re eating the green foliage, and they’ll be nice and green. You can’t even see it. A lot of times, people send me pictures of their baskets and say I don’t see any worms. I’ve looked, but they’re not there. They are there, trust us, but they will blend right in. A lot of times, you’re looking for leaves…holes in the flowers, that’s usually the first part, but they love those brand-new shoots of blossoms. So they’re going to eat those off before you even notice it. You will see you’ll have a nice green basket with no flowers.
How to Deal with Cutworms
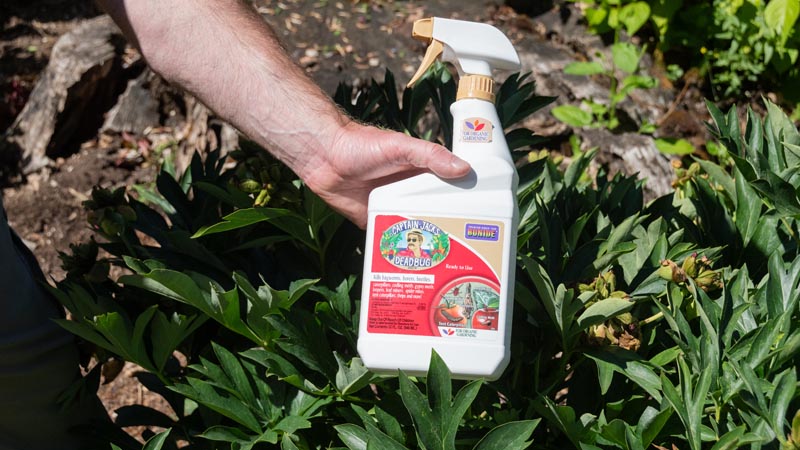
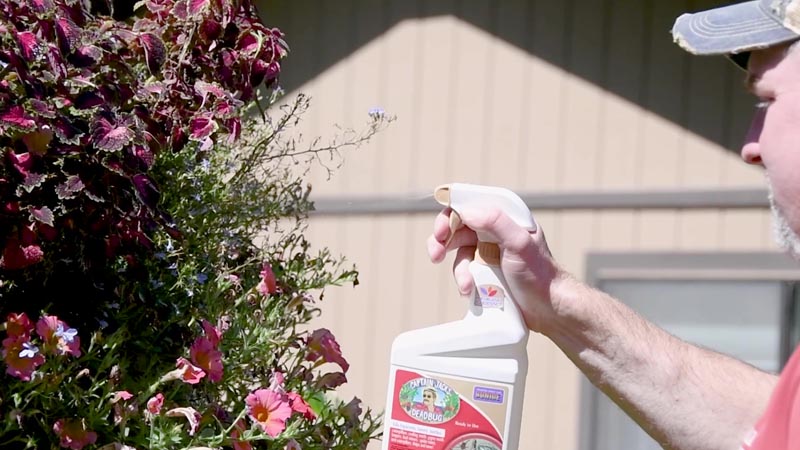
So what we love to use is Captain Jack’s. Captain Jack’s is a bacteria that was found in a rum distillery that we will spray on the basket. It’s completely safe for us and for pets, and it’s not going to cause any problems. But these little worms are going to get what’s coming to them because the bacteria and the worms do not mix. A ready-to-use bottle makes it easy to mist down the basket. We also have it in a ready-to-spray, which is a little bottle you can hook on the end of your hose. You can hose down 3 or 4 baskets with this, or if you have a wider area or flower bed. It’s a lot easier than trying to crank a little spray bottle a whole bunch. You will mist everything down. You will get above it, on the side of it, and underneath.
Fertilizing Your Baskets
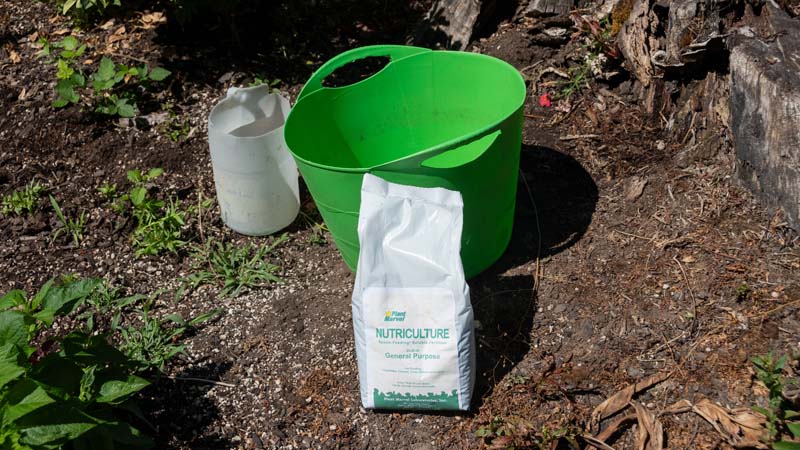
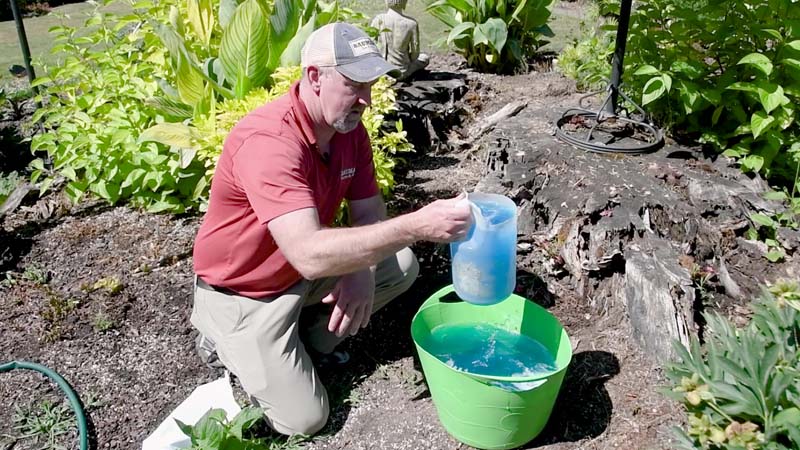
It’s good to start with the big bucket to mix your fertilizer in when you get ready. A plastic bucket makes it easy to move around the yard. About a 7-gallon bucket works great. With your fertilizer, make a little opening. With a measuring spoon, it takes about 1 tablespoon per gallon of water. So you’d put seven tablespoons in there for this size of bucket. Use the hose as it’s filling up to mix it up as you go, and wait for it to get to about the top, and make sure it’s all mixed in really good.
People often ask what’s the best time of the day to fertilize or water your baskets, and the best answer is to do it first thing in the morning. Before you go to work is an ideal time because it doesn’t get really hot, and you don’t have to deal with evaporation that way. You get the most bang for your buck. And the fertilizer gets a chance to soak in.
So once it’s all mixed up, you’ll notice with our fertilizer, it’s a really nice color of blue. You don’t want it to be too light since that means you probably didn’t use enough. You don’t want it to be too dark because if you use too much fertilizer, it can burn the roots. A dirty old milk jug with the top cut-off works great for measuring it out for each of your hanging baskets. Use one jug full for each one of the hanging baskets. Then, pour it in.
When pouring the fertilizer in, you want to pour enough in that it soaks the whole thing, but you don’t really want it coming out the bottom because that’s a waste of the fertilizer. So, this is typically about the right amount when you are watering in the morning. And remember, spray it all down. You don’t want to wash that spray off, so right in the center, do a nice steady pour. And that’s all it takes.
Now that your hanging baskets have been trimmed off, we’ve sprayed to get rid of the bugs, and we’ve given our hanging basket a nice boost of fertilizer, your basket is going to sprout out. Within another week it’s going to be big and beautiful again.
For all these products and our helpful tips and tricks, make sure you follow us online on YouTube, Facebook, and Instagram.
Then head on out to Bauman Farms where we’ll get you all taken care of.


